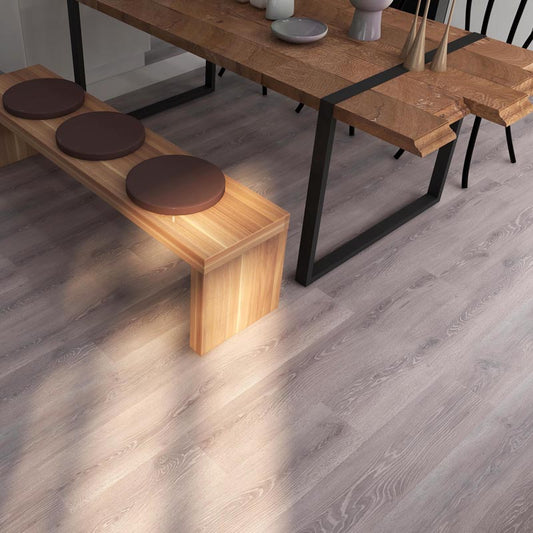
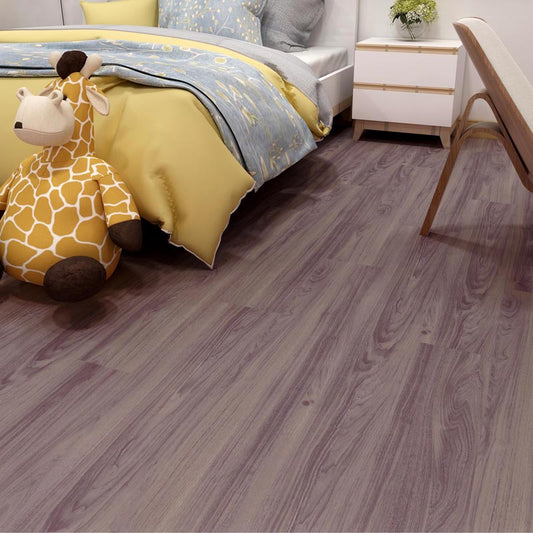
Are you considering installing SPC flooring in your space but unsure where to start? Are you wondering about the installation process and whether you can do it yourself? Let's explore the steps involved in installing SPC flooring and how you can achieve a professional-looking result.

To install SPC flooring, follow these simple steps:
Prepare the Subfloor: Ensure that the subfloor is clean, flat, and free of any debris or imperfections. Repair any cracks or uneven areas to create a smooth surface for installation Acclimate the Flooring: Allow the SPC flooring to acclimate to the room's temperature and humidity levels for at least 48 hours before installation. This helps prevent any expansion or contraction of the planks after installation.

Plan the Layout: Determine the layout of the flooring, considering factors such as the direction of natural light, room size, and any architectural features. Start from the longest and straightest wall, leaving a 1/4-inch expansion gap around the perimeter of the room.

Install the Underlayment: Depending on the manufacturer's recommendations, install an underlayment to provide additional cushioning, sound insulation, and moisture resistance. Secure the underlayment to the subfloor using adhesive or tape.

Begin Installation: Start laying the SPC flooring planks from the starting wall, interlocking the tongue and groove edges securely. Use a tapping block and rubber mallet to ensure tight seams between planks. Cut planks as needed to fit around obstacles or at the end of rows.

Continue Installation: Work row by row, staggering the end joints of adjacent rows for a more natural appearance. Maintain the expansion gap along the walls and around any fixed objects. Trim door casings to accommodate the height of the flooring if necessary.

Complete the Installation: Once you've installed the final row of planks, remove spacers and reinstall baseboards or trim to cover the expansion gap. Inspect the flooring for any gaps or imperfections, and make any necessary adjustments or repairs.

Finish with Transitions: Install transition strips where the SPC flooring meets different types of flooring or at doorways to create a seamless transition between rooms.

Remember to consult the manufacturer's installation instructions for specific guidelines and recommendations tailored to the SPC flooring product you've chosen.
Are you ready to transform your space with stylish and durable SPC flooring? With proper preparation and attention to detail, you can achieve professional results and enjoy the benefits of beautiful, long-lasting flooring.

More Related Questions
- Can SPC flooring be installed over existing flooring?
- What tools are needed for installing SPC flooring?
- How to maintain SPC flooring after installation?
Conclusion
In conclusion, installing SPC flooring is a straightforward process that can be completed with the right tools, preparation, and attention to detail. By following these steps and guidelines, you can achieve a professional-looking result and enjoy the benefits of stylish, durable flooring in your space.