Are you tired of looking at those unsightly scratches and dents on your LVP (Luxury Vinyl Plank) flooring? Repairing them might seem like a daunting task, but fear not! With the right tools and techniques, you can restore your flooring to its former glory in no time. But how exactly do you go about repairing LVP flooring? Let's dive in and find out!
LVP flooring is known for its durability and resilience, but even the toughest floors can suffer scratches, dents, or other forms of damage over time. Fortunately, repairing LVP flooring is a relatively straightforward process that can be done with just a few simple tools and materials.
If you're ready to tackle those pesky imperfections and make your floors look brand new again, here's a step-by-step guide to help you get started:
Assess the damage
Before you begin the repair process, take some time to assess the extent of the damage to your LVP flooring. Are the scratches superficial, or do they penetrate the wear layer? Are there any deep gouges or dents that need special attention? By understanding the nature of the damage, you can determine the best approach for repairing your floors.
Gather your materials
To repair LVP flooring, you'll need a few basic supplies:
- Color-matched filler or putty: Choose a filler or putty that closely matches the color of your flooring to ensure seamless repairs.
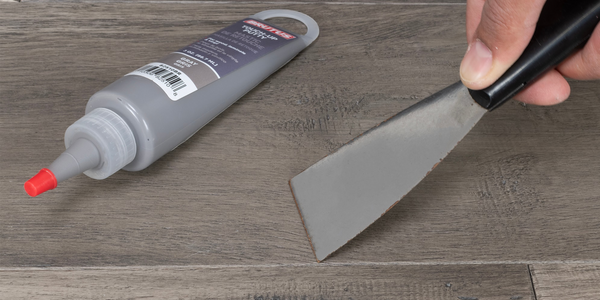
- Putty knife: Use a putty knife to apply the filler or putty to the damaged area and smooth it out for a clean finish.
- Fine-grit sandpaper: If the scratches are deep or rough, you may need to sand the repaired area to achieve a smooth surface.
- Clean cloth: Wipe away any excess filler or putty with a clean, damp cloth to ensure a neat and tidy repair.
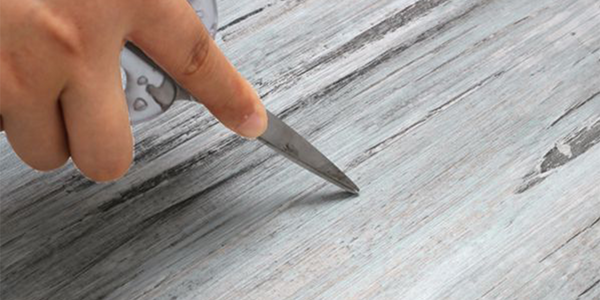
Fill in the scratches
Once you have your materials ready, it's time to fill in the scratches on your LVP flooring. Here's how to do it:
-
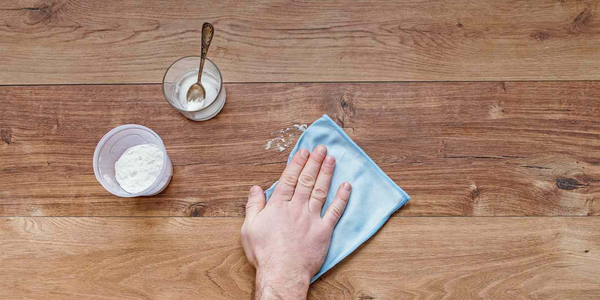
Clean the damaged area: Start by cleaning the scratched area with a mild detergent and warm water to remove any dirt or debris.
-
Apply the filler or putty: Using a putty knife, apply a small amount of color-matched filler or putty to the scratches, ensuring that the entire damaged area is covered.
-
Smooth out the filler: Use the putty knife to smooth out the filler and level it with the surrounding flooring. Make sure to work quickly, as some fillers dry fast.
-
Let it dry: Allow the filler or putty to dry completely according to the manufacturer's instructions. This may take anywhere from a few hours to overnight, depending on the product used.
-
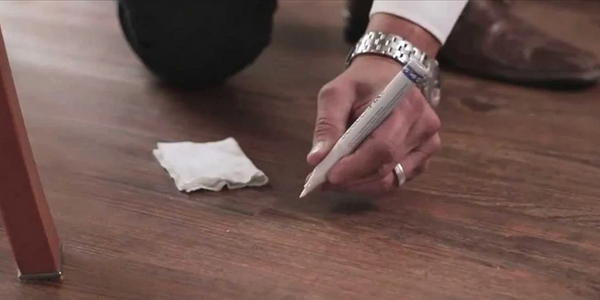
Sand if necessary: If the repaired area is rough or uneven, lightly sand it with fine-grit sandpaper to achieve a smooth finish.
-
Clean up: Once the repair is dry and smooth, wipe away any excess filler or putty with a clean, damp cloth to ensure a tidy finish.
By following these steps, you can effectively repair scratches and other minor damage to your LVP flooring and restore its appearance and functionality. With a little time and effort, your floors will look as good as new!
Conclusion
Repairing LVP flooring doesn't have to be a daunting task. With the right tools and techniques, you can easily fix scratches and other minor damage to restore your floors to their former beauty. So roll up your sleeves and get ready to give your floors the TLC they deserve!